Do you spend hours scrolling through Pinterest, drooling over vanities?
We do too!
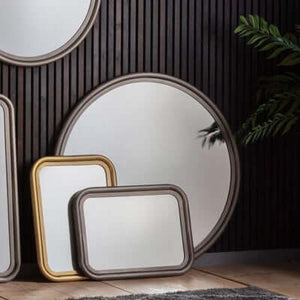
Vanities are essential for any seasoned beauty junkie. It makes doing your makeup so much easier and it’s the perfect way to show off your collection on Instagram.
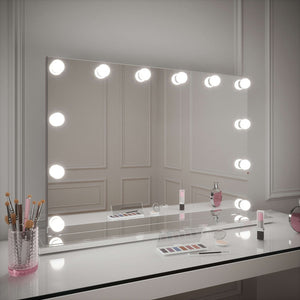
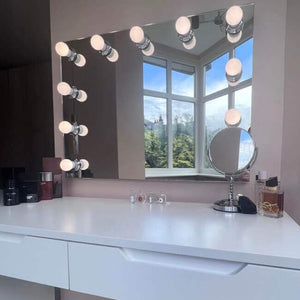
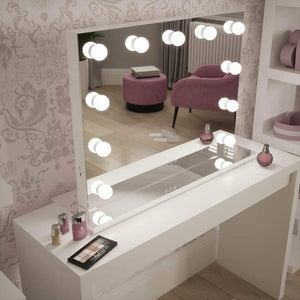
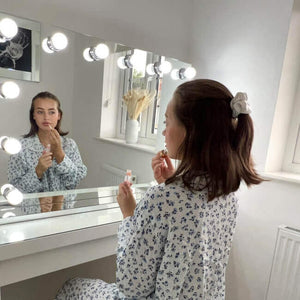
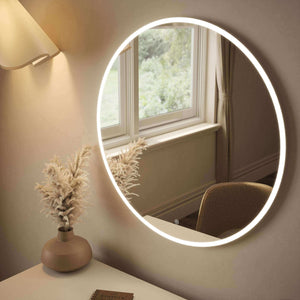
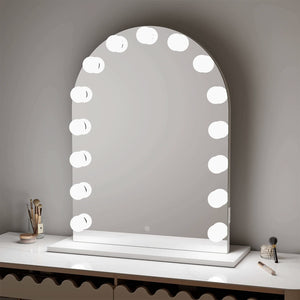
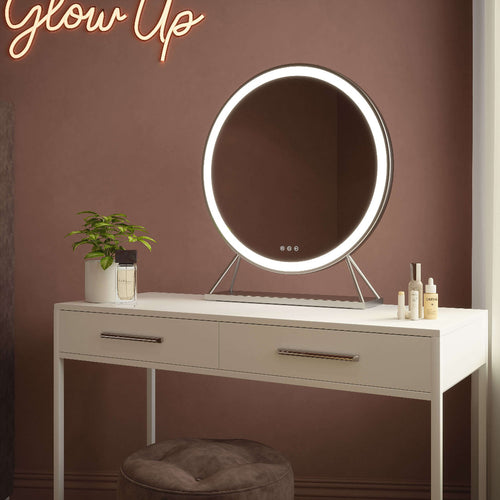
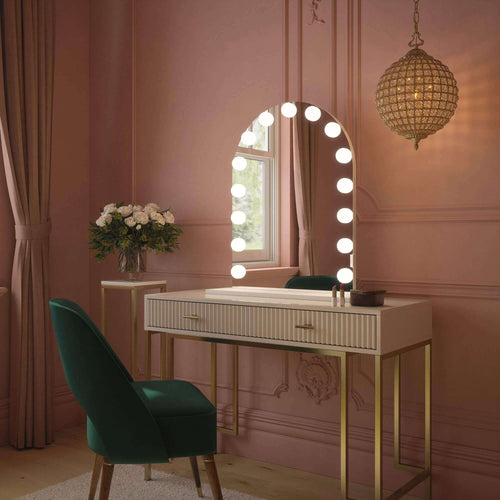
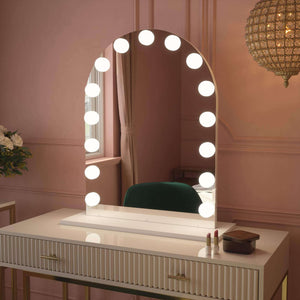
The secret to a glamorous makeup space is incorporating a mirror with lights. A vanity mirror with lights will give old Hollywood charm to your space, creating the perfect lighting for flawless makeup application.
Choosing a Light-Up Mirror
The most essential accessory of any dressing table? Her majesty the Hollywood mirror.
...But how do you land on the right one for you — with so many shapes, choices, and styles to choose from?
Here’s everything to know before you decide on your makeup mirror.
Where Will You Place It?
Think about where your mirror will be placed. Knowing its location will help you decide on other factors such as:
- Size
- Shape
- Mounting style
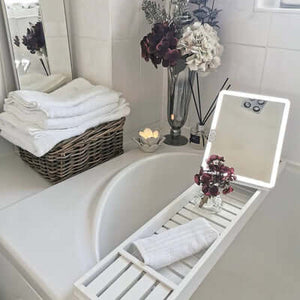
For example, if you have a bathroom vanity with a little room to spare, think about getting the wall-mounted Elaine model.
If, however, you have a bedroom vanity with more space to work with, you can opt for a dressing table mirror.
How Will You Use It?
Think about how you’ll be using the mirror.
For example, if you mostly spend your time seated, make sure the mirror is at a comfortable height and not too far away.
Also, the makeup mirror should sit at a good angle, so you don’t have to twist around to use it.
Take the time to find the ideal spot for your light-up mirror and consider all the mounting choices.
How Big Should It Be?
Before you settle on a lighted mirror, think about the ideal size for your space.
It can’t be too small, as that would defeat the whole purpose of having a vanity mirror. It also can’t be too big, because you don’t want it to get in the way.
To choose the right size, think about how much space you have on the vanity itself.
Note: the size will also depend on the type of mirror you want. A wall-mounted mirror will not require as much room as a freestanding alternative.
How Bright Should It Be?
While natural light is always the best option, it’s unfortunately not very reliable. That’s why it’s best to put the vanity in front of a window — ideally a big one.
However, if your vanity is in the bathroom, that’s out of the question.
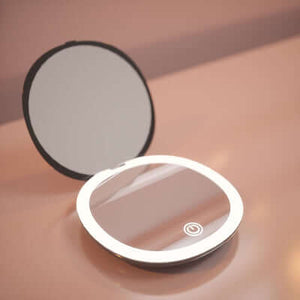
The good thing is, you can choose a Hollywood Mirror. All of these have built-in lighting technology using LED bulbs and LED lights. They even have different lighting settings to choose from.
Our advice: Don’t go for a mirror that only gives off light from the top. This will create shadows and won’t display a clear image of how you look. Instead, choose a mirror with evenly distributed bulbs that aren’t blinding.
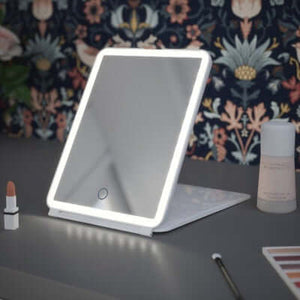
How Magnified Should It Be?
Magnification is a handy feature, as it can help with being extra precise in your beauty routine.
Using a magnification mirror is also helpful if you wear glasses, as you can take them off when putting on makeup.
However, something to take into consideration is the magnification degree. The usual magnification degrees are 3x and 5x. This is sufficient for people with good vision.
However, if you want something more robust, you can go for a 10x or even 15x magnifying mirror.
While these tips are enough to effectively design your room with vanity mirrors, you could learn more advanced craft by enrolling yourself to some courses offered by the National Design Academy.
It’s Building Time!
We’ve covered everything you should know about positioning and choosing the right mirror. Now it’s time to get down to building.
Here are the steps for building your own lighting for vanity mirrors.
Step 1: Buy a Mirror and Vanity Light Bar Equipment
You’ve decided where to place the mirror. Now it’s time to measure the space where the mirror will go. Be extra careful with height and width measurements, as you want to buy a mirror that fits your dimensions.
You can get a mirror at:
- Home goods stores
- Thrift stores
- Home improvement stores
- Gumtree
- Your basement or attic — check if there are any discarded mirrors you can repurpose in your home
You want a mirror with a wide border so you can attach lights to it. Also, choose a frame colour that will complement your decor.
While you’re at it, have a look around your home for tools such as:
- Wire strippers/scissors
- Hanging strips (used for pictures)
- Two extension cords
- Multimeter (optional)
At a hardware store, you’ll also need to buy vanity bars and bulbs.
Tip: Be sure to buy vanity bars with screw holes.
Check the user information on the vanity bar for which kind of bulbs the manufacturer recommends. This is usually found in the packaging, but if not, check online.
Step 2: Prepare the Light Bars
- Take the bars out of the boxes.
- Remove the caps around each socket.
- Set the caps aside in a safe place (as you’ll have to reinsert them once the bars are installed).
Step 3: Cut the Extension Cord
- Use a pair of scissors to cut the end off the adapter on both extension cords.
- Make a ¼ inch horizontal cut at the cord end, where you previously removed the adapter.
Step 4: Pull Apart the Cords and Expose the Cores
Finished cutting? Here’s what to do next:
- Pull apart the cords. Keep carefully pulling until you’ve pulled around 5 inches.
- With wire strippers, strip an inch off the insulation covering the wire cores.
- Remove the insulation so you see the exposed wire cores.
- Repeat for the second set of extension cords.
Note: Be careful not to cut the metal cores inside the insulation.
Installing Hollywood Mirrors
We’ve covered the wire preparation of the DIY Hollywood Mirrors. Now it’s installation time.
Step 1: Connect the Extension Cord and the Vanity Light
Start by removing the top of the purchased vanity bars. There, you’ll see two lengths of copper wiring. They’re normally covered in black and white insulation.
Take into hand the two extension wires and pick the wire that feels smooth. This is the ground wire. Twist it together with the black wire’s core.
Then take the wire that feels like it has raised ridges. This is the positive wire. Twist this core with the white one on the bar.
Note: It’s very important you don’t mix these up. Use a multimeter to check correct polarity for 100% certainty.
Step 2: Attach Wire Nuts Onto the Cords
It’s essential to use wire nuts. They’ll securely connect the wire and reduce the chance of electrical fires.
Typically, wire nuts are cone-shaped and yellow or orange in colour.
Take one wire nut and insert it onto the exposed copper that you previously twisted. Twist until it’s securely fixed.
Do this for each bar and the extension cord until all wire ends are securely covered.
Step 3: Put on the Bar Cover
Check once again that wire nuts for both wire colours in the light bars are firmly fixed and the polarity is correct.
Put the bar cover back on, making sure all the cords are inside and covered.
Keep the white (positive) and black (ground) wires separate. This will stop them from touching, leading to a fire or tripping the circuit breaker.
Step 4: Light up the Mirror
- Find the caps you put aside earlier.
- Put them back into place in each socket.
- Screw in the bulbs, making sure they are firmly attached.
- Plug the cord into the power outlet.
- Turn on the vanity lights.
Step 5: Hang the Mirror

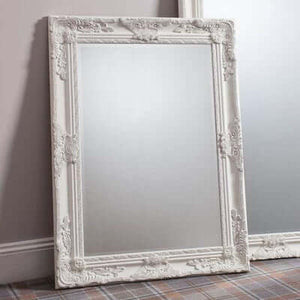
Julia Hollywood Mirror in White Gloss 80 x 60cm
Next, check if the mirror already comes with hooks for attaching. If not, mark the back where hardware is needed.
Then, mark the wall where you’ll hang the mirror.
Finally, using a drill, attach the hardware with a screw or wall anchor.
Keep in mind the mirror weight. Use hardware strong enough to support it so that your mirror doesn’t fall and get damaged.
"Love it, great product that makes putting make up on sooooo much easier! ❤️" - Catherine Hughes, March 11, 2021
And voila!
The beauty of having a make-up vanity is that you can customise it to your taste — antique, modern, vintage, retro, you name it.
Liquid error (sections/article-template line 192): Invalid form type "51\n", must be one of ["product", "storefront_password", "contact", "customer_login", "create_customer", "recover_customer_password", "reset_customer_password", "guest_login", "currency", "activate_customer_password", "customer_address", "new_comment", "customer", "localization", "cart"]


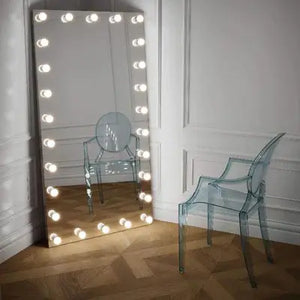
 Angelina Full Length Arch Hollywood Mirror 160 x 60cm
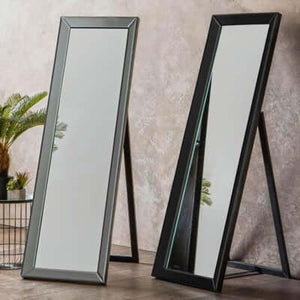
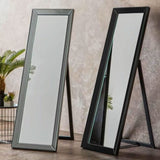 Angled Luna Mirror-Cheval Black
 Angled Luna Mirror-Cheval Silver
 Anne Round Hollywood Mirror Gold 60x67CM