Makeup videos have become increasingly popular on most major platforms. For some, it's a way of showcasing skills. For others, it's a way of expressing creativity as artists. Makeup videos mostly show specific makeup techniques, share favourite products, or inspire others.
Regardless of the reason for creating makeup videos, this art isn't as easy as sitting in front of the camera. A big part of the process is ensuring the makeup looks flawless and visually appealing. One way to get this outcome is to have proper lighting.
However, getting the best lighting can be tricky, especially during your first few attempts.
This article will explore tips and techniques for fixing this key issue. Whether you are a seasoned cosmetic artist or a newbie, these tips will help you achieve the perfect setup.
Best Lighting for YouTube Videos And Makeup Application
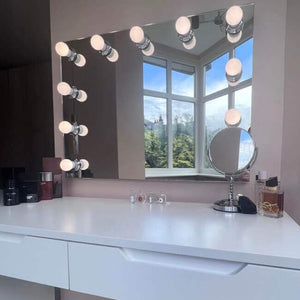
Use Natural Light
Natural light is the best option for makeup videos for so many reasons.
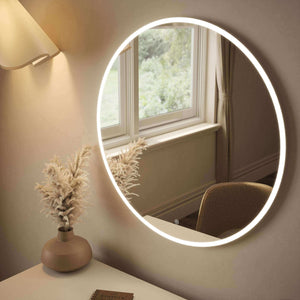
Firstly, it's the most flattering, providing soft, even, and gentle coverage. When setting up your camera, consider opening your shades and letting the light in.
With natural lighting, you'll see the true colours of the makeup product, which is the intention. It also makes it easier to create a flawless and natural-looking application, something that's vital in showcasing your skills and techniques better.
In addition, natural right is versatile and easy to work with. This light can be adjusted and manipulated by changing the angle and position of your camera. You can also usecheap blinds to ensure the light isn't too harsh, giving your footage the right balance of exposure and highlighting.
You can also develop different moods and effects in your videos depending on time and weather conditions. To do this, choose a room with large windows and set up your camera facing the window. This positioning ensures you capture enough sunlight without worrying about harsh shadows. From there, you can strategically shade it or redirect it to set up a specific ambience.
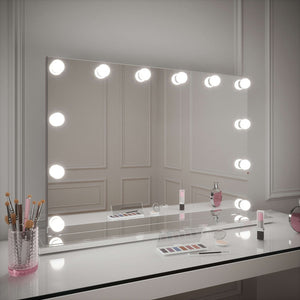
Choose The Right Light Placement
For an extra stylish and personalized touch to your makeup video setup, consider adding a custom neon name sign as a unique backdrop. Not only does it enhance your space aesthetically, but it also creates a signature look for your content.
If natural lighting isn't working for you, you can always use artificial lights.
When setting it up, take care to place it in a way that provides even coverage. Positioning your lights at a forty-five-degree angle to your face is the best placement.
Before starting your video, adjust the lighting to achieve the desired effect. Then, test the setup by recording a short clip and checking how everything looks on playback. You can also go the extra mile and use a reflector to bounce light back onto your face.
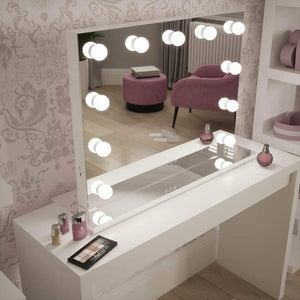
Avoid Overhead Lighting
Any experiencedmakeup artist who makes videos can tell you to avoid overhead lighting. The main reason is due to the unflattering shadows and uneven lighting it creates, which can make it difficult to see the true colours of the makeup. Having overhead lighting can also put a glare on your skin, making the whole thing appear washed out.
In addition to glare, it can create a flat, dimensional look that lacks depth and dimension, making it difficult to create a natural-looking application. By avoiding this lighting, you won't have to deal with different colour temperatures that can affect the image fidelity of your video.
Consider The Colour Temperature
Colour temperature is an essential consideration for makeup videos. It affects how the overall palette looks on screen.
Different light sources have different temperatures, ranging from warm to cool. Failing to account for these can affect the accuracy of your makeup application.
Colour temperature will also affect how your skin tone appears in the video. If it's too warm, it can turn your skin yellow or orange. Alternatively, if it's cool, it can make your skin appear papery.
These hue shifts can ruin the consistency of the visuals, which in turn destroys the overall production of your videos.

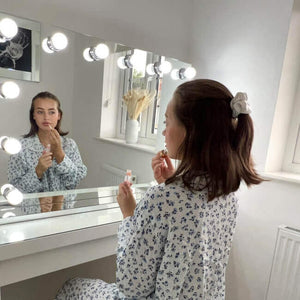
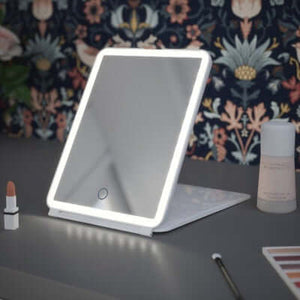
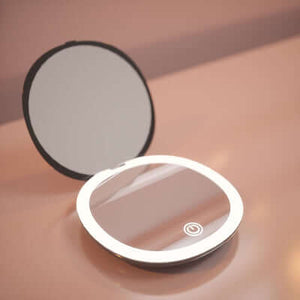
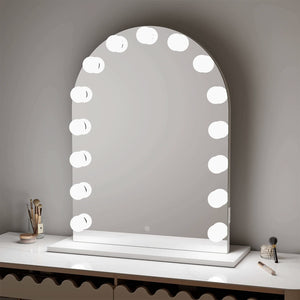
Use A Ringlight And A Soft Box
Another option for makeup videos is aring light and a softbox.
A ring light can be placed around the camera lens, providing even lighting on your face. It's an excellent option for beginners and is available at affordable prices.
You can provide even, diffused lighting with your ring light, making your videos brighter and more vibrant. Meanwhile, the softbox creates additional coverage, removing harsh shadows and keeping your image clear on all sides.
Achieve The Perfect Setup
As you can see, the best lighting for makeup videos is essential to achieving a flawless and professional look on camera. You can create flattering, share-worthy content with a few smart choices. Test your lighting setup before recording your video to showcase your skills and talents.

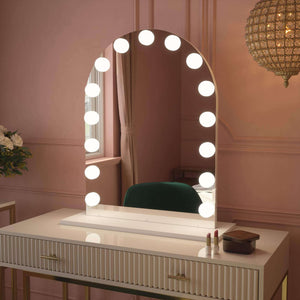


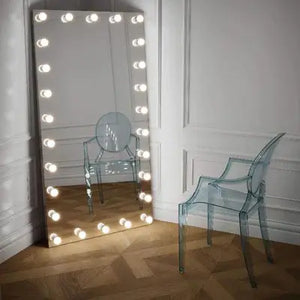
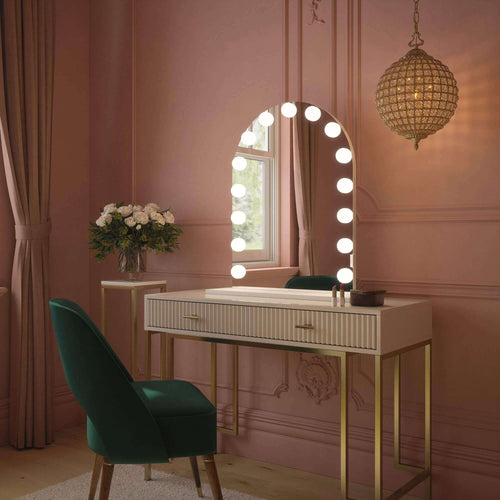
 Angelina Full Length Arch Hollywood Mirror 160 x 60cm
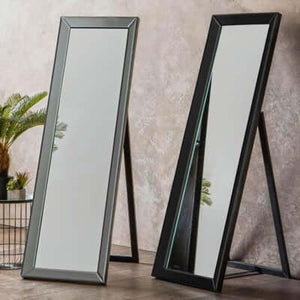
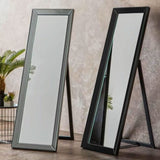 Angled Luna Mirror-Cheval Black
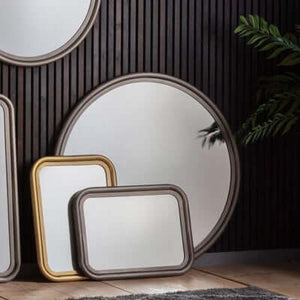
 Angled Luna Mirror-Cheval Silver
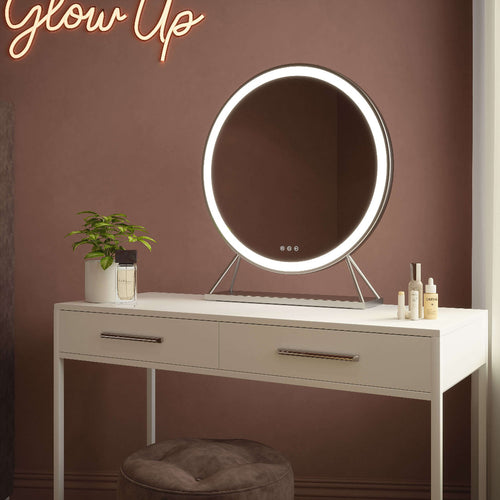
 Anne Round Hollywood Mirror Gold 60x67CM