Getting a flawless tan at home requires attention to detail, especially in those hard-to-reach areas. Nearly everyone focuses on the larger areas, such as the stomach and legs. But it is the extremities and joints that provide the appearance of a fake tan.
To avoid getting white patches or muddy joints, it's best to apply your tan with a strategy. Learn the ins and outs of covering everything for a perfect, sun-kissed result in this article.
Perfecting the Hands and Feet
Your hands and feet have thinner skin and tend to be drier, making them the most difficult areas to tan. Apply full-strength product directly to these areas, and they will absorb too much pigment and look unnaturally dark. Apply the "residue" from your tanning mitt to your legs and arms after you've finished.
When you want a good self tan, sweep the mitt delicately over the tops of your hands and feet, blending towards the fingers and toes. Get into the crevices between your fingers using a makeup brush for a more precise finish. This ensures a light, natural-looking glow that looks like it belongs on your body.
Navigating the Elbows and Knees
Because the skin is thicker and often more textured, joints are notorious for grabbing onto extra tan. Lightly coat these areas with a small amount of oil-free moisturiser before starting your tan regimen. This prevents the tanning agent from sinking too deeply into the creases and creating dark patches.
When applying the tan, keep your joints bent so that the product touches every fold. Do light, circular motions; never “double dip” your mitt in these areas. That gives your tone a consistent, flexible feel and moves alongside your body naturally for the entire day.
Blending the Face and Neck
Your face and neck are always in view, so they need to be ultra-light to minimise the appearance of "masking". It’s frequently better to use a premium face tanning product of some kind or to add a couple of tanning drops to your regular moisturiser.
Begin from the centre of your face and blend outward towards your hairline and ears; don’t miss your jawline. Don’t forget to blend down your neck and into your décolletage so there isn’t any obvious “line” where the tan stops. A bright skin, with a well-structured face and a flawless chiselled neck, gives the perfect glowing canvas of your day-to-day beauty routine.
Reaching the Center of Your Back
Tanning your back requires a certain flexibility that often results in missed areas and frustration. If you don't have a partner to help, a tanning mitt attached to a long-handled brush or a back applicator is your best buddy. Start with the top and work your way down in long, vertical strokes to make sure that you have comprehensive coverage.
Check with a double mirror if the centre of your back is as bronzed as your shoulders. Buff the edges of your back tan towards the sides to ensure a smooth blend with the front. Time spent getting to every inch means you will feel confident whether you’re in a backless dress or swimsuit.
Don't Forget the Ears and Hairline
Ears and the very edge of the hairline are the most common "forgotten zones" that can ruin a fake tan. Use whatever’s left on your mitt to lightly sweep over the tops and backs of your ears. The aim is to avoid the “white ear” look that stands out in photos when your face and neck are bronzed.
Especially if you have light-coloured hair, be careful around the hairline, as tan can stain the roots. Immediately after application, wipe off any excess product from your hair and eyebrows with a damp cloth.
Achieving Total Body Bronze Confidence
A truly flawless tan is achieved through patience and a meticulous approach to every inch of your skin. If you treat the tricky areas carefully and use the right tools, your result will appear completely authentic.
Keep in mind that practice makes perfect, and each application will get easier as you learn the distinct contours of your body. Stay patient, blend thoroughly, and enjoy the radiant confidence that comes with a perfectly applied tan. The world is your beach—go out and glow!
Liquid error (sections/article-template line 192): Invalid form type "16\n", must be one of ["product", "storefront_password", "contact", "customer_login", "create_customer", "recover_customer_password", "reset_customer_password", "guest_login", "currency", "activate_customer_password", "customer_address", "new_comment", "customer", "localization", "cart"]


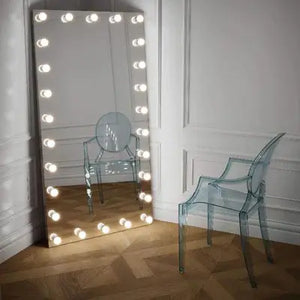
 Angelina Full Length Arch Hollywood Mirror 160 x 60cm
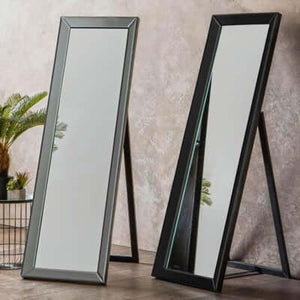
 Angled Luna Mirror-Cheval Black
 Angled Luna Mirror-Cheval Silver
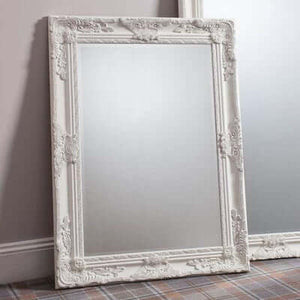
 Art Deco Overmantle Mirror in Grey 105cm x 86.5cm