Creating content from home has become second nature for many. What once seemed the preserve of professional broadcasters now fits neatly into spare rooms and bedrooms. A home studio gives you control over your voice, image, and message. Think of it as a compact, tailored space designed to serve your creative goals while reflecting your personal style.
The setup begins with intention. Do you want crisp video for a video podcast? Are you focusing on music production? Or are you simply seeking a reliable place to record voiceovers and promotional clips? Decisions like where to position a camera, how to arrange a microphone, and how light falls across your face shape the output more than expensive equipment ever could.
Dressing for the Camera
A Gildan T shirt offers simplicity and comfort that works well on camera. Neutral shades avoid distracting the eye, while solid fabrics prevent odd flickering effects under LED light. Clothing does not need to be elaborate. What matters is a consistent appearance that allows viewers to focus on your message rather than your outfit.
The second layer of polish comes from subtle upgrades. A plain shirt works, but pairing it with bargain polos can create a slightly sharper impression while maintaining a relaxed tone. Fit and cleanliness play as significant a role as the garment itself. When you look camera-ready, your authority and professionalism come through immediately.
Building the Foundation of Your Space
Every studio requires attention to the unseen factors. Sound is a priority. An audio interface connected to your computer will help you manage input and output reliably. Pair it with monitor speakers to gauge how recordings translate across systems. If you play instruments, guitar amps should be placed thoughtfully to prevent excess noise spilling into your microphone feed.
Treating the room makes a difference. Acoustic treatments such as foam panels, bass traps, and sound dampening panels address sound reflections and standing waves that can muddy recordings. Air gaps behind diffusion material increase effectiveness by absorbing lower frequencies. Even budget-friendly sound absorption tools can transform an echo-prone space into a controlled environment suited to home recording.
The Tools That Shape Your Sound
Microphones are the beating heart of any studio. Condenser microphones provide sensitivity for vocals, while dynamic microphones offer resilience in noisier conditions. A shotgun microphone can capture targeted audio during video shoots. Add a pop filter to reduce plosive bursts, and you’ll immediately hear a cleaner track.
Recording software, also known as a digital audio workstation, integrates everything into a single workflow. Whether layering vocal booth takes, arranging MIDI keyboard sequences, or fine-tuning diffusion effects, the software becomes your creative hub.
Light, Video, and Visual Consistency
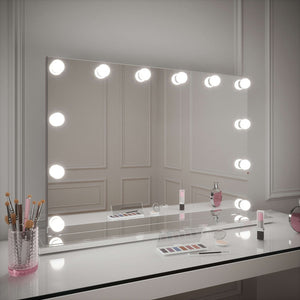
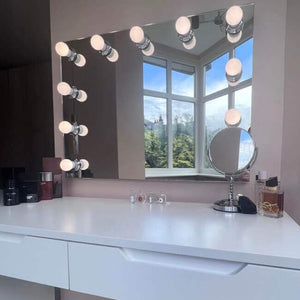
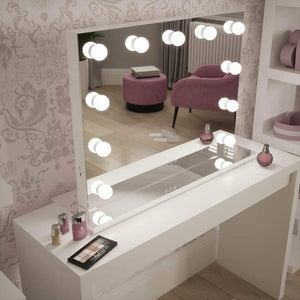
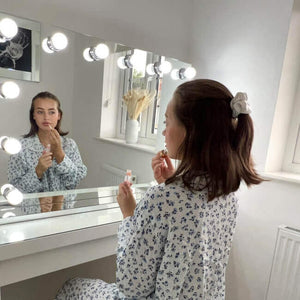
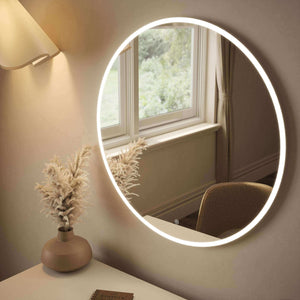
Good lighting transforms recordings. A single LED panel placed at the correct angle can soften shadows and reveal expressions more naturally. Experiment with position until you find balance. Many creators also keep vanity mirrors nearby to check how light interacts with their face and clothing before hitting record.
The camera picks up every detail, including subtle sound proofing materials or foam panels in the background. While they serve a technical purpose, arranging them neatly maintains the appearance of professionalism.
Video work benefits from the same patience as audio. Marketing strategy might demand crisp branding, but at a practical level, consistent framing and clean light carry more weight than flashy backdrops. If you plan to run a video podcast, test how your studio looks on different devices. What appears fine on a desktop might look cluttered on a phone.

Dividing the Space Into Zones
A traditional music studio often separates spaces into a live room and a control room. You can borrow this principle at home. Use one area primarily for recording: your vocal booth, your filming spot, or your instrument corner. Use another area as the control space where you monitor input and adjust recording software. Even small flats allow a distinction through clever positioning of furniture or sound insulation. Curtains, bookcases, or makeshift sound dampening panels can create boundaries that improve focus.
Facing the Unseen Science
Sound behaves in ways that catch beginners off guard. Standing waves build up in corners, and untreated surfaces send reflections back into the microphone. Bass traps and foam panels soften those extremes, but diffusion material spreads sound waves more evenly across a room. Layering room treatment tools produce a balanced acoustic environment without completely deadening the atmosphere. Over time, you’ll develop a feel for how sound insulation and air gaps influence recordings.
Pulling It Together
A studio does not need to be extravagant. The essentials form a foundation for creativity. Eventually, you might add standing lamps, upgrade to better monitor speakers, or rearrange sound dampening panels. You might explore advanced music production using condenser microphones or experiment with diffusion material in pursuit of smoother sound absorption.
In a digital age technology often moves faster than we expect, but the principle remains steady: create an environment where you feel comfortable producing. A home studio, however modest, becomes the stage where your content takes form and where your individuality is captured with clarity.
Liquid error (sections/article-template line 192): Invalid form type "91\n", must be one of ["product", "storefront_password", "contact", "customer_login", "create_customer", "recover_customer_password", "reset_customer_password", "guest_login", "currency", "activate_customer_password", "customer_address", "new_comment", "customer", "localization", "cart"]

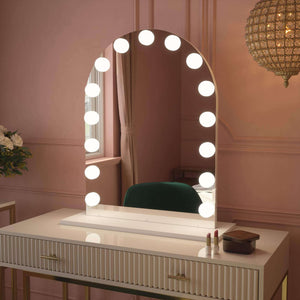


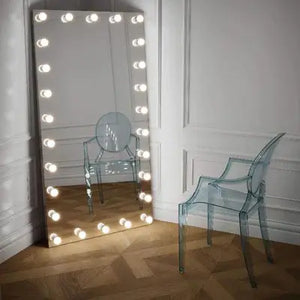
 Angelina Full Length Arch Hollywood Mirror 160 x 60cm
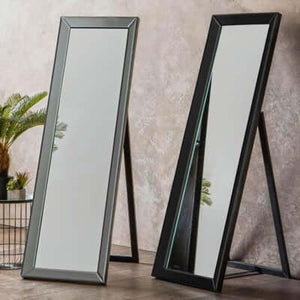
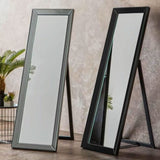 Angled Luna Mirror-Cheval Black
 Angled Luna Mirror-Cheval Silver
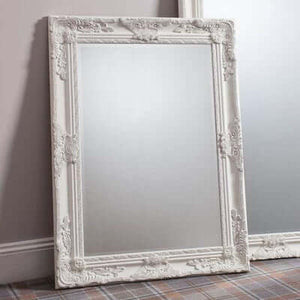
 Art Deco Overmantle Mirror in Grey 105cm x 86.5cm