To hang a heavy mirror, fix it into the solid part of your wall, either a timber stud or the masonry behind the plaster, using wall fixings rated for more than the mirror weighs. Get that right and everything else is easy. Get it wrong and you risk a cracked mirror, a damaged wall, and a nasty surprise at 6am.
A large Hollywood mirror is a proper piece of kit. The frame, the glass and the LED lighting add up, and a wobbly fixing simply will not do. This guide walks you through the whole job: the tools you need, how to read your wall, which fixings suit which surface, and the exact steps to get your mirror up straight and rock solid.
What You Need Before You Start
Hanging a heavy mirror is a moderate DIY job that takes most people around 30 to 45 minutes. You do not need to be a tradesperson, but you do need the right kit and a bit of patience.
Tools:
-
Power drill with masonry and wood drill bits
-
Spirit level (a phone app works in a pinch, but a real level is better)
-
Tape measure and a pencil
-
Stud detector or cable and pipe detector
-
Screwdriver
Fixings and hardware:
-
Wall fixings suited to your wall type (more on this below)
-
Screws rated for the load
-
The bracket or hanging kit that came with your mirror
Before you drill a single hole, know two things: how much your mirror weighs, and what your wall is made of. Those two facts decide every other choice you make. If your mirror came flat-packed, the instructions will usually list the weight and the recommended fixings.
How to Hang a Heavy Mirror: Step by Step
Step 1: Check the weight and the fittings
Weigh your mirror or check the product details before you buy any fixings. The heavier the mirror, the stronger the fixing needs to be. Look at the back of the frame too: some mirrors use D-rings or a hanging wire, others use a flush mount bracket that sits tight to the wall. A flush bracket spreads the load and is the safest option for a heavy mirror.
Step 2: Identify your wall type
Work out whether you are drilling into masonry or plasterboard. Tap the wall with your knuckle. A solid, dull sound usually means brick, block or concrete. A hollow sound usually means plasterboard fixed to a timber or metal frame. This single check changes which fixings you buy, so do not skip it.
Step 3: Find the studs or a solid fixing point
Run a stud detector across the wall to find the timber uprights behind plasterboard, and use a cable and pipe detector to avoid drilling into anything live. On a stud wall, screwing straight into a stud gives you the strongest possible hold. On masonry, the whole wall is your fixing point, so you have more freedom over where the mirror goes.
Step 4: Mark and level your holes
Hold the mirror or its bracket against the wall at the height you want, then mark the hole positions with a pencil. Rest a spirit level across your marks and adjust until the bubble sits dead centre. A mirror that is even slightly off will show it, so take your time here. For a dressing table mirror, position the centre of the glass at seated eye level; for a full length mirror, allow a small gap at the floor.
Step 5: Drill and insert the right wall plugs
Drill your holes using the correct bit for your wall, then push a wall plug into each one until it sits flush. The plug grips the wall and stops the screw from pulling loose under weight. Use the plug size that matches your screw gauge, and never force a screw straight into masonry without a plug. The section below explains exactly which plug to use for each wall.
Step 6: Fix the bracket and hang the mirror
Screw the bracket to the wall through the plugs, then lift the mirror into place. Heavy mirrors are awkward and slippery, so have a second person hold the weight while you guide it onto the bracket. Tighten everything by hand at first, then finish with a screwdriver so you can feel the fixing bite. If your mirror has pre-drilled holes instead of a bracket, fix it straight to the wall through the glass with mirror screws, which take a screw-on brass or chrome cap for a neat, finished look.
Step 7: Check it is level and secure
Give the mirror a gentle push once it is hung. It should not shift, tilt or creak. Rest your spirit level along the top edge one last time. If it has drifted, loosen off, adjust and retighten. A minute of checking now saves a lifetime of looking at a crooked mirror.
Choosing the Right Wall Fixings for Your Wall Type
The fixing you need depends entirely on what sits behind the plaster. The wrong choice is the single most common reason a heavy mirror ends up on the floor. Here is how to match the fixing to the wall.
Brick, block and concrete walls. For solid masonry, a set of plastic fixings sized to your screws will carry the weight with room to spare. The plug expands against the sides of the drilled hole as the screw goes in, gripping the masonry tightly. This is the strongest and simplest option, which is why solid walls are the easiest to hang heavy mirrors on.
Plasterboard with a stud behind it. If your mark lands on a timber or metal stud, you can screw a wood screw straight into it and skip the plug altogether.
Plasterboard with a stud behind it. If your mark lands on a timber or metal stud, you can screw a wood screw straight into it and skip the plug altogether. The stud does the work. This is the most secure way to hang a heavy mirror on a stud wall. In UK homes, studs usually sit at 400mm or 600mm centres behind 12.5mm plasterboard, according to British Gypsum's partition data, so once you find one stud you can measure across to find the next.
Plasterboard with a cavity behind it. Where there is no stud, you cannot rely on the plasterboard alone. Use a purpose-made cavity fixing such as a spring toggle or a metal expanding anchor, which opens out behind the board to spread the load across a wider area.
Dot and dab walls. Some plasterboard is stuck to masonry with blobs of adhesive, leaving a gap behind it. Standard plugs spin uselessly in that gap, so use a fixing designed for dot and dab construction that reaches through to the solid wall behind.
Use this quick guide to match the fixing to your wall before you buy anything:
|
Wall type
|
Best fixing
|
What to expect
|
|
Solid brick, block or concrete
|
Expanding plastic wall plug and screw
|
The strongest and simplest option. The plug grips the masonry as the screw goes in.
|
|
Plasterboard, into a stud
|
Wood screw straight into the timber or metal stud
|
The most secure choice on a stud wall. Load goes into the frame, not the board.
|
|
Plasterboard, cavity (no stud)
|
Spring toggle or metal expanding cavity anchor
|
Opens out behind the board to spread the weight over a wider area.
|
|
Dot and dab
|
Dot and dab fixing that reaches the wall behind
|
Bridges the gap so the load lands on the masonry, not the thin board.
|
The pattern is simple: the more solid the material behind your screw, the more weight it holds. A screw fixed into a stud or into solid masonry with the right plug will always beat one relying on plasterboard alone.
Before You Drill: A Quick Checklist
Run through this before the drill comes out. It takes two minutes and saves most of the things that go wrong.
-
You know the mirror weight and have fixings rated above it
-
You have identified your wall type by tapping and testing
-
You have scanned for cables and pipes with a detector
-
You have found the studs, or chosen a cavity fixing if there are none
-
Your holes are marked and checked with a spirit level
-
Your drill bit matches your wall and your plug matches your screw
-
You have a second person lined up to help lift a large mirror
Common Mistakes to Avoid
-
Trusting plasterboard on its own. Bare plasterboard is thin and crumbly. A heavy mirror hung with basic screws will tear straight out. Always fix into a stud or use a proper cavity fixing.
-
Using the wrong plug size. A plug that is too small will not grip, and a screw that is too short will not reach. Match the plug and screw to the hole and the load.
-
Skipping the detector. Drilling blind into a wall risks hitting a cable or a water pipe. A few seconds with a detector avoids a very bad day.
-
Not levelling before you commit. Marking holes by eye almost always leaves a mirror slightly wonky. Use a level every time.
-
Underestimating the weight. A large lit mirror is heavier than it looks. When in doubt, choose a fixing rated well above the mirror weight.
Frequently Asked Questions
Can you hang a heavy mirror on a plasterboard wall?
Yes, but not on the plasterboard alone. Fix into a timber stud where you can, or use a rated cavity fixing such as a spring toggle where you cannot. Basic screws pushed into bare plasterboard will not hold a heavy mirror for long.
What fixings do I need for a heavy mirror?
Match the fixing to your wall. Solid brick or concrete needs a plastic wall plug and screw. A stud wall needs a wood screw into the timber or a cavity fixing where there is no stud. Dot and dab walls need a fixing that reaches the masonry behind the board.
How do I hang a mirror without finding a stud?
Use a cavity fixing designed for plasterboard, such as a spring toggle or a metal expanding anchor. These open out behind the board and spread the weight, so you are not relying on the thin plasterboard surface to take the strain.
Do I need two people to hang a heavy mirror?
For anything large or awkward, yes. One person holds and steadies the mirror while the other guides it onto the bracket and checks the level. It is safer for you and for the mirror.
Ready to Hang Your Mirror
Hanging a heavy mirror comes down to two things: fixing into something solid, and using a plug or anchor rated for the weight. Do that, level it up, and your mirror will stay exactly where you put it.
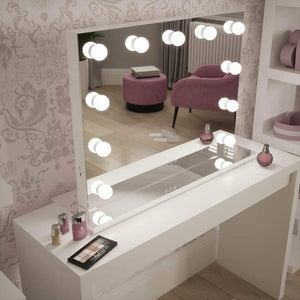
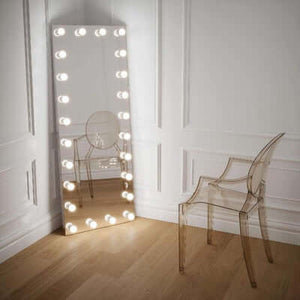
If you are still choosing your mirror, browse the wall mounted Hollywood mirrors collection for pieces built to be fixed and framed on the wall, or go big with a large Hollywood mirror as the centrepiece of your dressing area. Need a hand deciding what suits your space? Our team is happy to help.
Liquid error (sections/article-template line 192): Invalid form type "3\n", must be one of ["product", "storefront_password", "contact", "customer_login", "create_customer", "recover_customer_password", "reset_customer_password", "guest_login", "currency", "activate_customer_password", "customer_address", "new_comment", "customer", "localization", "cart"]

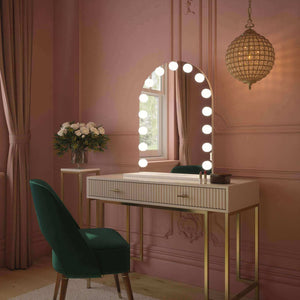


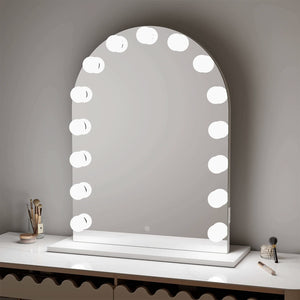
 Alicia Hollywood Mirror 60cmx80cm
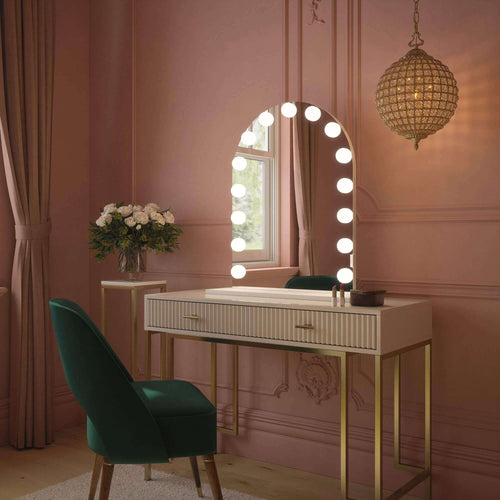
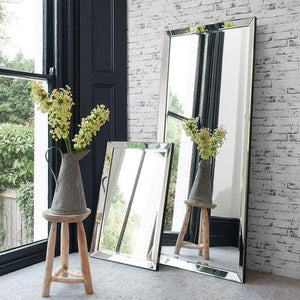
 Angelina Full Length Arch Hollywood Mirror 160 x 60cm
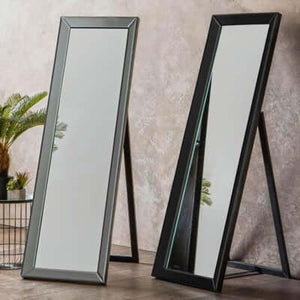
 Angled Luna Mirror-Cheval Black
 Angled Luna Mirror-Cheval Silver